Ⓘ Available to Essentials, Teams, and Corporate accounts
How to create an SMS campaign
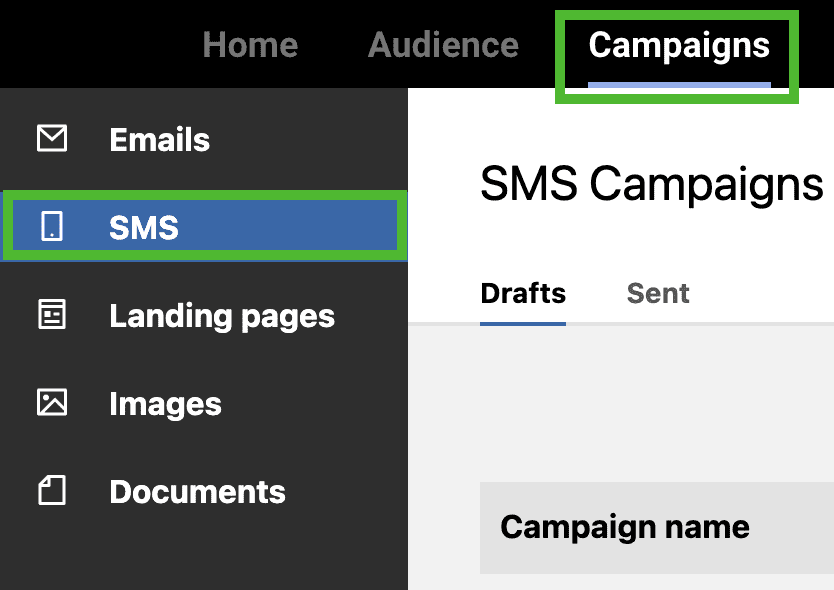
- Navigate to your Campaigns tab.
- Click on the SMS section in the panel on the left.
![]()
- Click on the Create new campaign button on the right.
- The SMS campaign builder has three sections: Settings, Recipients, and Message. Each section is described in detail below. Continue following the prompts to create your campaign.
Settings
In the Settings section, you can enter the name of your SMS campaign and view your From number. The campaign name cannot be longer than 140 characters and will not be visible to recipients.

Recipients
In the Recipients section, you can choose which groups or segments will receive your campaign. Click on the dropdown menus and select the appropriate groups or segments. You can choose multiple groups and segments, if you wish, but you must choose at least one group or segment in order to send the campaign. If desired, you can also choose one exclusion segment.

To remove an exclusion segment, click on the “x” as shown below:

Message
In the Message section, you can compose the contents of your SMS campaign. To do this, simply click inside the box and type normally. The recommended SMS length is fewer than 320 characters. To the right of the box where you’re composing your message, you’ll see the Preview screen that will show you a real-time image of what your message will look like.
Due to carrier limitations we can not send images greater than 525KB. We will attempt to send images up to 5MB, but we can not guarantee that we will be able to compress it within the carrier’s limits.

Beneath the composition box, you will see four icons: a smiley face, an image, a speech bubble, and Personalize. Beneath the icons is a switch that says Automatically shorten links and enable link click tracking. Here’s what each of those controls do:
- The smiley face icon allows you to add emojis to your SMS message. Click on the icon and select the desired emoji from the list. The number of characters an emoji is counted as can vary widely, so it’s a good idea to keep an eye on your character total when drafting your campaign.
- The image icon allows you to insert an image into your SMS message. To insert an image, navigate to your image library and retrieve the URL for the desired image. Then return to the SMS campaign, click on the image icon, and paste the URL in the pop-up window that appears.
- The speech bubble / quote icon allows you to automatically add text to the message that reads: Reply STOP to opt out. In order to make it clear and easy for customers to unsubscribe, it is best to always include this with your SMS communications.
- The Personalize link allows you to insert personalization tags into your message.
- The Automatically shorten links toggle allows you to choose to automatically shorten any links that you add to the message. By default, the switch is turned off but you can turn it on by simply clicking on it. Shortened links take the format https://e2ma.link/xxxx.
If links are not shortened, our system cannot track clicks on those links. This is because the shortened link creates a brief redirect when clicked, which is what our system records when tracking clicks.
SMS credits and characters
When sending an SMS, each message segment corresponds to one SMS credit. The number of characters per segment depends on the type of characters used in the message. If the message only uses GSM-7 characters, then a single message segment is 160 characters or less; thus an SMS message with 235 GSM-7 characters will use two message segments / credits per recipient.
However, if the message contains any non-GSM-7 characters, such as emojis, then the message must be encoded differently for sending. As a result, in those cases a single message segment is 70 characters or less, meaning that a 235 character SMS message that contains an emoji will use four message segments / credits per recipient.
Due to their variable nature, any non-GSM-7 character may count as more than one character for the purpose of identifying the number of characters in the message. For example, some emojis may be counted as seven characters, while others may only be counted as three. This is caused by the way those non-GSM-7 characters have to be encoded for sending and is outside of our control.
How to test an SMS campaign
To test your SMS campaign, click on the Send test button in the upper right corner of the page.

In the pop-up window that appears, type the phone number of the person who should receive the test. The number must be a valid, US mobile number; if this mobile number belongs to a contact who is currently in your audience, they must be opted in to promotional SMS messages.

How to send an SMS campaign
Once your SMS campaign is ready to go, you’ll need to decide whether you want to send it right away or schedule it for later. If you’d like to send it right away, click on the Send immediately button. If you’d like to schedule it, click on the Schedule for later button and use the menu that appears to choose a send date and time. Once you’ve made your selections, click on the Review button in the lower right corner of the screen. On the next page, you’ll see an overview of your campaign settings, audience, and message. Beneath that, it will display the total number of recipients and total number of messages that will be sent.

If you choose to schedule your message for later, the send date and time will be listed at the top of the page.

Once you’ve reviewed everything and confirmed that it looks the way it should, check the Acknowledgement of consent box and then click on the Send now button to begin the sending process. If you’re scheduling your campaign for later, the button will say Schedule it instead. While in the process of sending, the campaign will move from the Drafts tab to the In progress tab.

It can take some time for the sending process to complete, so don’t worry if the campaign remains in the In progress tab for a while. Once the process is complete, the campaign will move to the Sent tab.
