This article explains how to use style guides to control and lock template elements such as font, color, and more.
Ⓘ Available to HQ, Essentials, Teams, and Corporate accounts
The Brand Manager is the central location for tiered accounts to create, organize, and share content with their subaccounts. For more information about the tools found in the Brand Manager, please refer to our overview of the Brand Manager.
What Are Style Guides?
Style guides are a tool that allow the account Parent and Managers to control what their subaccounts can do when using the editor or sending a campaign. They are located in the Brand Manager section of the parent account. To access your style guides when working in the parent account, simply click on the Brand Manager tab. If you are working in a subaccount, click on the house icon in the upper right corner of your screen and select Brand Manager from the dropdown menu.
Note: Certain elements of style guides are not available to all account types.
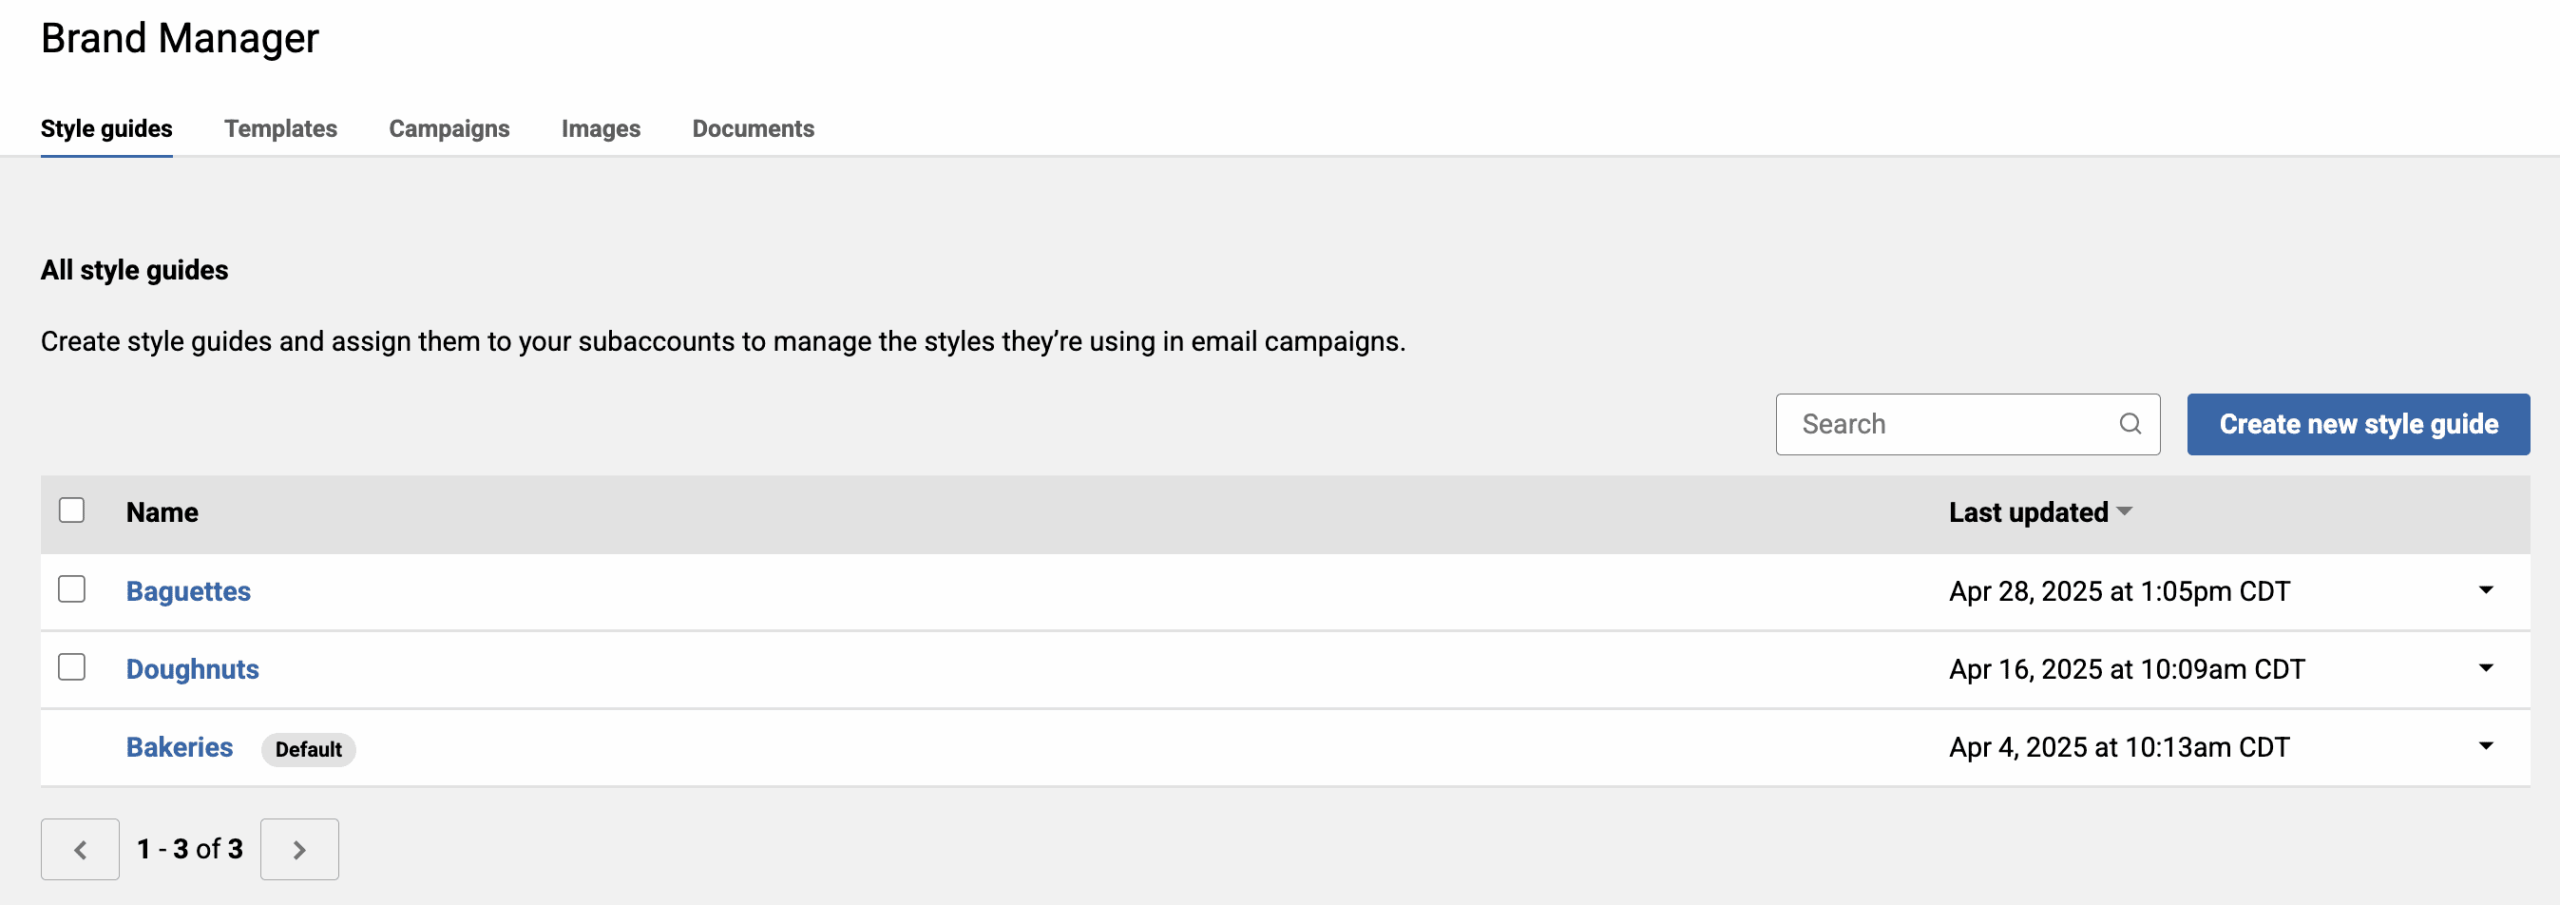
Creating a Style Guide
- Click on the Create new style guide button.
- In the pop-up window that appears, select Create from scratch or Import your brand.
- Give the style guide a name.
- Optional: If you selected Import your brand, enter your website URL.
- Click on the Save button.
Import Your Brand
The brand import tool quickly generates an on-brand style guide using your website’s core colors and fonts. When you enter your website URL into the brand import tool, our system will scan your website to identify key brand elements and pre-populate them in the style guide. This feature is only available to Teams and Corporate accounts.
Can the style guide be edited after my imported brand has been saved?
Yes, just like any other style guide, an imported brand style guide can be edited after it has been saved and can be shared with subaccounts.
Why weren’t my fonts, colors, and / or text styles imported?
Results may vary, depending on a site’s setup. Some styles may need a quick edit and some custom fonts may need to be added manually.
Fonts
The Fonts section allows you to add custom fonts and manage the drag and drop editor’s default fonts.
Adding a Custom Font
At the top of the Fonts section is the Custom Fonts tool, where you can add a custom font. Once added, your subaccounts will be able to see that custom font as an option in the drag and drop editor. To add a custom font, follow these steps:
- Click on the Add font button.

- In the pop-up window that appears, enter the font name and CSS URL.

- Click on the Save button.
Note: All CSS URLs must be delivered on the HTTPS protocol, with a valid SSL certificate. Also, Policy CORS must be enabled in the host to deliver the font files. This is particularly important if you are hosting the CSS and font files yourself. If you are not hosting the CSS and font files yourself, this is less of a concern, as organizations such as Google Fonts, Adobe Fonts, etc. already meet these requirements.
You should now see your new font displayed in the Custom Fonts section. Due to caching, it may take a few minutes for the new custom font to appear in the drag and drop editor.
Managing the Editor’s Default Fonts
To add or remove the default fonts from the drag and drop editor, scroll down to the Editor Fonts section. To remove a default font from the editor, simply uncheck the corresponding box; once unchecked, that font will no longer appear in the editor’s font dropdown menus for any of your subaccounts. To return a default font to the editor, just check the box again.
Due to caching, it may take a few minutes for the updates to take effect in the drag and drop editor.
Text Styles
The Text Styles section allows you to edit the default settings for the heading and paragraph text style defaults that appear in the drag and drop editor. This feature is only available to Teams and Corporate accounts.
Editing Text Styles
- Click on the pencil icon next to the element you want to edit.

- In the pop-up window that appears, use the dropdown menus to customize the element.

- Click on the Save button.
You should now see your changes reflected in that element’s preview on the Text Styles page.
Disable Changes
You can prevent users from modifying text styles in a campaign by checking the “Disable changes in editor” box.

When this box is checked, subaccount users will be forced to use the default formatting that you’ve chosen in the Text Styles tab. Subaccount users will no longer see the ability to change the font, weight, size, letter spacing, or line height when editing a campaign. Instead, they will be able to see a modified Content Properties panel.

Colors
The Colors section allows you to add custom colors. These colors will be visible as default color swatches in the drag and drop editor. This feature is only available to Teams and Corporate accounts.
Adding a Custom Color Swatch
- Click on the Add color button.

- In the pop-up window that appears, enter the desired hex code. You can also click on the color swatch and select a color from the color picker or enter the color using RGB values.

- Click on the Save button.
You should now see your new swatch displayed on the page. Due to caching, it may take a few minutes for the updates to take effect in the drag and drop editor.
Assigning a Style Guide to a Subaccount
Once you’ve finished building a style guide, click on the Save button and select Save & assign from the dropdown menu.

To assign the style guide to a subaccount, check the corresponding box in the list. You can select multiple subaccounts, however, each subaccount can only be assigned one style guide. When you select a subaccount, the new style guide will override the previous style guide. Once you’ve made your choices, click on the Assign button.
You can also assign a style guide to a subaccount from the All Style Guides page by clicking on the dropdown arrow that corresponds to the desired style guide and selecting Assign to subaccounts from the list.

Renaming or Deleting a Style Guide
To rename a style guide, click on the corresponding dropdown arrow and select Rename from the dropdown menu. In the pop-up window that appears, enter the new name and click on the Save button.
To delete a style guide, click on the corresponding dropdown arrow and select Delete from the dropdown menu. In the pop-up window that appears, click on the Delete button.
To set a style guide as the default, click on the corresponding dropdown arrow and select Set as default from the dropdown menu. In the pop-up window that appears, click on the Confirm button. All subaccounts without an assigned style guide will use the default.
Note: There must always be a default style guide, so the default cannot be deleted. If you want to delete the default style guide, you will need to create a new style guide and set it as the default. Then you can delete the old style guide.