Segments are dynamic “containers” that automatically add or remove contacts based on their contact data. This contact data can include:
- Contact data that you import into your account.
- Details submitted by contacts through a signup form or manage preferences form.
- System-generated data, such as the date they subscribed.
- Open or click activity from previously sent mailings.
Contacts cannot be manually added to a segment. Instead, they automatically become members of a segment when their data or personal details match the segment criteria. When their data no longer matches the segment criteria, they are automatically removed from that segment.
For example, if you create a segment that looks for any contact whose State field is California, then only contacts with California in that field will be retrieved by the segment. If a contact in that segment updates their information and changes their state to Arizona, they’ll automatically be removed from the California segment and added to an Arizona segment — providing you have already created a segment for Arizona.
Important things to know about segments
Segments update dynamically
Our system always keeps track of the most up-to-date version of your segments internally. However, the user interface will not update to show the current number of contacts in a segment unless you manually refresh it.
You can refresh a segment by clicking on its name to open it and then clicking Refresh, however, you do not need to refresh a segment in order for our system to know the contacts who are currently in that segment. Even if you never refresh your segment in the UI, our system will continue to keep track of it on the backend and will send to the most current version, regardless of what the UI says.
This means that when you send a mailing, it will go to the most current version of your segment, with two specific exceptions. First, if you are sending a scheduled split test, that mailing will be sent to the contacts who were in the segment at the time that the mailing was scheduled, not when it actually sends. Second, if a contact becomes eligible for a segment shortly before a non-split test mailing sends, they may not receive the campaign due to the way that mail queueing works.
Segments only show active contacts
Contacts who are in the Error and Opt-out status are still gathered by a segment, but they will not appear in the segment UI. Only contacts in the Active status are visible in the segment UI and count towards the segment total. If you would like to see Error and Opt-out contacts who meet the segment criteria, you can either export the segment or add it to a new group.
Segments cannot be searched with partial emails
When you open a segment, you can use the search bar to look for a specific email address to see if they are in that segment. However, you need to search by the full email address – a partial email address will not work and will return no results, even if the contact that you’re looking for is actually in that segment.
“Contact since” segments and time zones
When building a segment that references the Contact since timestamp, the timestamp that the segment checks is in UTC.
As a result, the contacts returned by the segment may have Contact since timestamps that appear to not match the segment criteria. This is because, when viewing a contact’s profile, our system converts their Contact since timestamp to the time zone set in the Account settings.
Additionally, the segment’s summary page converts those timestamps to US Central time, so there may be another discrepancy when viewing the data there. This means that when referencing the Contact since timestamp for a contact:
- The timestamp referenced by the segment is actually in UTC.
- The timestamp shown in the contact profile is in the time zone set in the Account settings.
- The timestamp shown in the segment summary page is converted to US Central time.
For example, let’s say that you create a segment that looks for anyone whose Contact since date was after March 6th, 2024.
The segment is going to look for contacts whose Contact since timestamp is after 12:00 am UTC on March 6, 2024. If your account’s time zone is US Pacific time, then a contact who was added on March 5, 2024 at 6:45 pm PT, will technically meet the criteria for the segment. This contact’s profile will show that their Contact since date is March 5, 2024, but they will still be pulled into the segment because their Contact since date is actually March 6, 2024 in UTC.
Furthermore, if you open the segment to view the contacts inside of it, the same contact described above will have a Contact since date of March 5, 2024 at 8:45 pm, instead of 6:45 pm. This is because the Segments interface shows the Contact since timestamps in US Central time.
In summary, if you want to create a segment that pulls contacts whose Contact since date is after 12:00 am US Pacific on March 6, 2024, you would need to convert that time to UTC for your segment criteria.
How to create segments
To build a segment, simply follow these steps:
- Navigate to your Audience tab.
- Click on the Segments section in the panel on the left.
- Click on the Create a segment.
In the pop-up window that appears, you can choose between creating a segment from scratch or creating a smart segment. Smart segments are available to contracted Lite, Essentials, Teams, and Corporate accounts only.
Create from scratch
- Choose Create from scratch from the pop-up window.
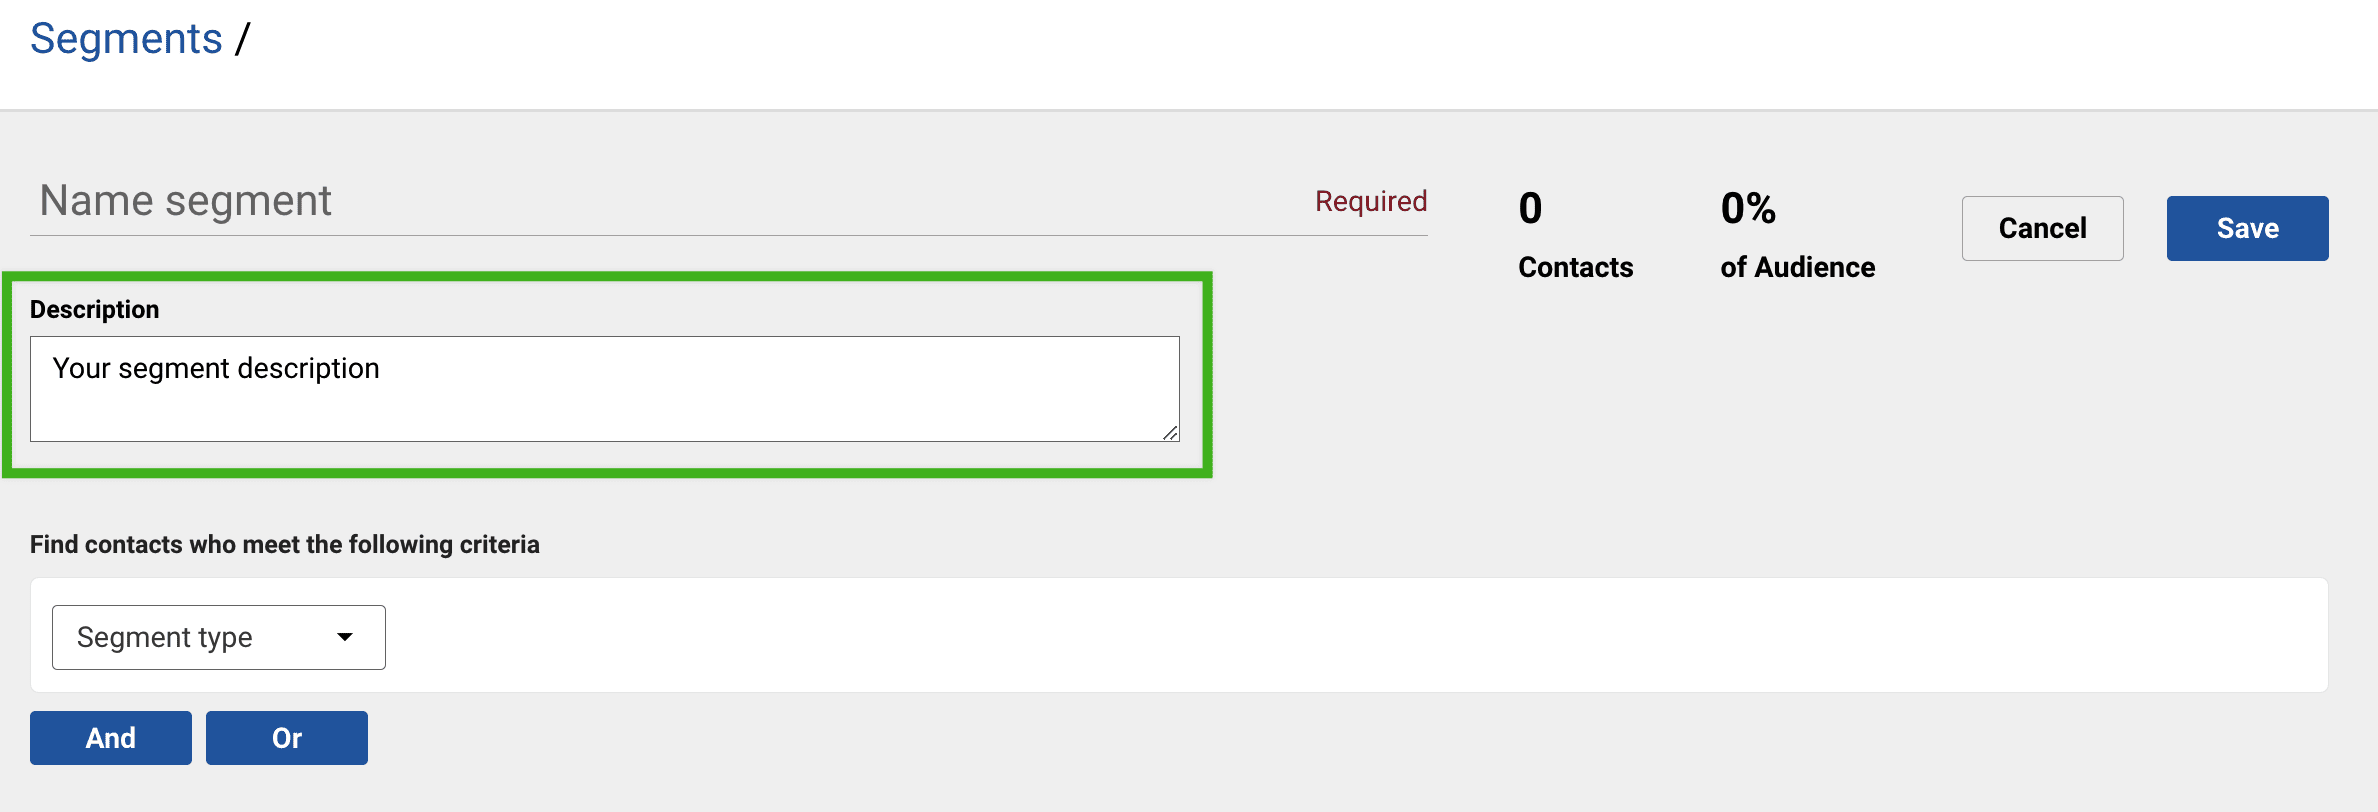
- Give the segment an easily identifiable name, for example, “Nashville Customers”.
- Enter a description for your segment, if desired.
![]()
- Click on the Segment type dropdown menu. Here, you’ll see four categories:
- Audience: This category contains two options, Group and Subscription. If you want to use audience groups or subscriptions as segment criteria, then you’ll need to select one of these options. For example, contacts in “Group A” can be included or excluded from the segment.
- Fields: This category contains your account’s contact fields. If you want to use contact fields as segment criteria, then you’ll need to select one of these options. For example, contacts whose Favorite color field is “green” can be included or excluded from the segment.
- Response : This category contains criteria based on mailing engagement. If you want to use engagement / response data as segment criteria, then you’ll need to select one of these options. For example, everyone who clicked a link in your last mailing.
- Signup activity: This category contains two options, Signed up and Managed preferences. If you want to use signup date or form as segment criteria, you’ll need to select one of these options. For example, anyone who signed up through “Form A” can be included or excluded from the segment.
The next steps will differ based on the segment type selected. Scroll down to see a few examples of how the segment builder works, based on various selections.
Smart segments
Smart segments are available to contracted Lite, Essentials, Teams, and Corporate accounts only.
- Choose Smart segment from the pop-up window.
- Give the segment an easily identifiable name.
- In the Describe your audience box, enter a plain language description of the contacts you want to include in your segment (e.g., contacts in Nashville who clicked on a mailing in the past 30 days).
- Click on the Continue button.
Once your segment has been created, double check the segment criteria to make sure it is correct. You can click on the Edit button to make changes to the segment criteria, description, and name.
Example 1: Group or subscription membership
If you want to use group membership as part of your segment criteria, select Group from the dropdown menu. To use subscription membership, select Subscription from the dropdown menu.
Once you select an option, two more dropdown menus will appear. The middle menu contains two options: In and Not in. The last menu lists each group / subscription in your account, depending on which option you chose in the first dropdown menu. The segment in the screenshot below will retrieve all contacts who are not in this account’s All contacts group.

Example 2: Contact field data
If you want to use contact field data as part of your segment criteria, select the desired field from the dropdown menu. Once you choose a field, a second dropdown menu will appear. This second menu contains a list of conditions, such as Contains, Does not contain, Equals, and so on.
Once you select a condition from the second dropdown menu, a third section will appear. The format of the third section depends on what type of field you chose in the first dropdown menu. For example, if the field that you chose is a short answer field, then the third section will be a text field. If the field that you chose is a radio button field, then the third section will be a dropdown menu containing all the options found in the radio button field. To continue making your segment, type or select the value that you are segmenting for in that third section.
When using Equals or Does not equal, the segment will look for the exact term, including capitalization. For example, the segment in the screenshot below is looking for any contact whose City field equals “Nashville”. If a contact has “nashville” in their City field, they will not be retrieved by this segment.

Example 3: Response data
If you want to use response data as part of your segment criteria, select the desired option from the first dropdown menu. If you’re not sure, Have received is usually a good place to start. Once you choose an option, two more dropdown menus will appear. The middle menu allows you to select a specific mailing or Any mailing. The third menu allows you to select a specific timeframe and is only visible if you choose Any mailing in the second dropdown menu.
The segment builder allows you to choose from the 500 most recently sent mailings. For older mailings, you can use the Save as segment feature in the response data to create segments. Mailings must be within the last 18 months, due to our data retention policy.
The segment in the example below is looking for any contact who did not open the campaign Weekly Newsletter. One thing that’s important to note is that this segment has two criteria: Have received Weekly Newsletter AND Have not opened Weekly Newsletter. The reason for this is because if we only use the Have not opened Weekly Newsletter, the segment will also retrieve contacts who didn’t receive Weekly Newsletter. In order to accurately segment for contacts who did not open a specific mailing, you must include the Have received criteria.

Using multiple segment criteria
You can also use the AND and OR buttons to chain multiple conditions together in your segment criteria. These options add logic that can be used to either increase or decrease the size of a segment.
AND
AND requires that a contact must meet both conditions in order to satisfy the segment’s criteria. As a result, using AND in a segment typically decreases the size of the segment because it narrows the portion of the audience who qualify.
For example, the segment in the screenshot below is looking for any contact who is in the All contacts group AND whose State field equals “Tennessee”. If a contact is in the All contacts group, but their State field equals “Alabama”, “tennessee”, “TN”, or anything other than “Tennessee” exactly, they will not meet the criteria for this segment.

OR
OR requires that a contact can meet either condition in order to satisfy the segment’s criteria. As a result, using OR in a segment typically increases the size of the segment because it expands the portion of the audience who qualify.
For example, the segment in the screenshot below is looking for any contact who is either in the All contacts group OR in the Form Sign-ups group. This means that a contact who is just in the All contacts group, a contact who is just in the Form Sign-ups group, and a contact who is in both groups will all meet the criteria for this segment.

Using AND & OR together
You can also combine AND and OR conditions when making your segment. This allows you to tailor your segment so that certain criteria are more strict than others.
For example, the segment in the screenshot below is looking for any contact who is either in the All contacts group OR in the Form Sign-ups group AND whose State field equals “Tennessee”. The result of this is that a contact who is just in the All contacts group, a contact who is just in the Form Sign-ups group, and a contact who is in both groups will all meet the criteria for this segment, as long as their State field equals “Tennessee”. If their State field does not equal “Tennessee” exactly, then they will not qualify for this segment, regardless of which group they are in.

Segment descriptions
For organizational purposes, you can add a brief description to each segment. These descriptions follow the same rules as the short answer contact field type. Segment descriptions cannot be exported or retrieved through the API.

When you create a segment, you can add a description by simply placing your cursor in the Description field and entering the desired description.

You can also add a description to a segment retroactively. To do this, simply click on the + icon the corresponds to the desired segment. In the pop-up window that appears, enter the desired description and click on the Save button.

How to manage segments
Once you’ve built and saved your segment, you can click on the name of the segment to open it at any time. There’s also a variety of other actions that you can take.
Edit
There are two ways to edit a segment:
- On the main Segments page, click on the dropdown arrow that corresponds to the desired segment. Choose Edit from the dropdown menu. Or,
- Click on the name of the desired segment. On the next screen, click on the blue Edit button in the upper right corner.
Export
There are two ways to export a segment:
- On the main Segments page, click on the dropdown arrow that corresponds to the desired segment. Choose Export from the dropdown menu. Or,
- Click on the name of the desired segment. On the next screen, click on the Actions button and then choose Export from the dropdown menu.
Rename
There are two ways to rename a segment:
- On the main Segments page:
- Click on the dropdown arrow that corresponds to the desired segment.
- Choose Rename from the dropdown menu.
- Enter a new name for the segment.
- Click on the Save button.
Or,
- Click on the name of the desired segment. On the next screen, click on the blue Edit button in the upper right corner. Enter a new name and click on the Save button.
Duplicate
To make a copy of a segment, click on the dropdown arrow that corresponds to that segment. Then choose Duplicate from the dropdown menu.
Archive
To archive a segment, click on the dropdown arrow that corresponds to that segment. Then choose Archive from the dropdown menu.
This will not archive the contacts within the segment, just the segment itself.
To restore an archived segment, or to permanently delete it, follow these steps:
- Click on the gear icon in the upper right corner of the screen.
- Select Archived items from the dropdown menu.
- Click on the Segments tab.
- Select one or more segments by checking the box next to each name.
- Click on the Actions button above and select Restore to return the selected segments to your audience or Delete to permanently delete them. You can also restore or delete a single segment by clicking on the corresponding dropdown arrow and selecting the appropriate option from the menu.
- Read the pop-up message carefully and then confirm your selection.
How to manage contacts within a segment
When you have a segment open, you can take certain bulk actions that will apply to all contacts within that segment.
- Click on the name of the desired segment.
- On the next screen, click on the Actions button.
- Choose the desired option from the list.
- Choose Add all to group(s) to add all contacts in that segment to one or more of your groups.
- Choose Change status of all to move the contacts to the Error status or Opt-out status.
- Choose Archive all to archive all contacts in that segment.
Helpful segment examples
Here are some examples of common segments that many users find helpful.
Confirmed opt-in segment
There are two signup methods available in email marketing: single opt-in and confirmed / double opt-in. You can send to confirmed opt-in contacts only by segmenting based on those who have clicked a verification link during signup, versus those who haven’t. For more information, please refer to this article.
Limbo segment
Contacts who are not a member of any audience groups are considered to be “in limbo”. You can create a segment to find these contacts by following these steps:
- From the Segment type dropdown menu, select Group.
- From the Condition dropdown menu, select In.
- From the Select a group menu, choose Limbo (not in any group).
- Click Save.
Email frequency segment
It’s good practice to let subscribers choose how often they want to hear from you. To do this, first create a contact field for email frequency, then add it to your signup form. Next, create a segment for each of the frequency options. For example, to find contacts who want to be contacted weekly, follow these steps:
- From the Segment type dropdown menu, select the name of your email frequency contact field.
- From the Condition dropdown menu, select Equals.
- Select Weekly.
- Give the segment an easily identifiable name, for example, “Frequency: Weekly”.
- Click Save.
Repeat these steps to create segments for your other frequency options. Then you can select the relevant segment when choosing recipients for your next mailing.
Engagement segments
One of the most important parts of maintaining a healthy list and strong deliverability practices is to regularly remove unengaged contacts from your list. For more information about deliverability best practices and using segments to clean up your list, check out the articles below.