This article explains how to use dynamic content in your campaigns and lists the different tags you’ll need.
What Is Dynamic Content?
Dynamic content is a tool that allows you to use your contacts’ information to determine the content that is delivered to their inboxes. It’s similar to personalization, but you can use it for whole sections of text, content blocks, or even an entire mailing’s worth of content. It’s a powerful tool but it does requires some knowledge of tag syntax. For more information about personalization, please refer to these articles:
- Personalizing Drag and Drop Campaigns
- Personalizing to Legacy* Campaigns
- Standard Personalization Tags
When you use dynamic content, our system checks an audience member to see if their contact fields meet certain criteria. If they meet the criteria, we will insert the content. If they don’t meet the criteria, our system will either move on to the next check, insert a default, or do nothing.
In order to use dynamic content in a campaign, you will always need to use one HTML block to open the content area and a second HTML block to close the content area. The opening HTML block must contain the if tag and the closing HTML block must contain the endif tag.
Required tags
The table below contains the two required dynamic content tags: if and endif. The if tag acts as the opening tag for the portion of your campaign that will contain dynamic content. Similarly, the endif tag acts as the closing tag for the portion of your campaign that will contain dynamic content. Both tags must but present in order for dynamic content to work and they can only exist as a pair.
This means that even if you have more than one area of dynamic content in your campaign, each area can only have one if tag and one endif tag.
The if tag tells our system which contact field to check and which value to check for. For example, in the table below, the if tag is checking the City field for the value “Nashville”. The value is case sensitive, so “Nashville” is not treated the same as “nashville”.
Tip: When you enter the name of the contact field, you will need to use the field’s shortcut name, not its display name.
| Tag | Syntax | Purpose |
|---|---|---|
if |
[% if member:field_shortcut_name == "value" %]For example: [% if member:city == "Nashville" %] |
Starts dynamic content. |
endif |
[% endif %] |
Ends dynamic content. |
If you were to use only these two tags, your dynamic content would work perfectly. It would check each recipient’s contact information against the value in the if tag and show the content if the recipient passes the test, or move onto the next tag if the recipient doesn’t pass the test. In the above example, since the next tag is the endif tag, the dynamic content portion would close. Anyone who did not meet the criteria of the if tag would simply not be able to see the dynamic content section of the mailing.
For example, let’s say that you have a campaign with three content blocks: Block A, Block B, and Block C. You decide that you want only people who live in Boston to see Block B. To set this up, you would do the following:
- In your campaign draft, drag an HTML block between Block A and Block B.
- In the HTML block, type
[% if member:city == "Boston" %]. - Drag an HTML block between Block B and Block C.
- In the new HTML block, type
[% endif %].
A contact who receives that email will see Block A, Block B, and Block C, if their City field is “Boston”. However, if their City field is anything other than “Boston”, they will only see Block A and Block C.
Simply put, if you only use the if and endif tags, you will send the content between the tags to people who pass the test, and you will exclude the content between the tags to people who do not pass the test. If you’d like to create more options, then you’ll need to make use of the two optional tags: elif and else.
Optional Tags
The table below contains the two optional dynamic content tags: elif and else. The elif tag allows you to provide conditions that act as backup checks if a contact does not meet the criteria of the if tag. Similarly, the else tag allows you to provide a condition that shows certain content to any contact who does not meet the if or elif criteria.
You can use as many elif tags as you want, but you can only use one else tag per section of dynamic content.
| Tag | Syntax | Purpose |
|---|---|---|
elif |
[% elif member:field_shortcut_name == "value" %]For example: [% elif member:city == "Portland" %] |
Check contact data against a value after failing the previous if / elif tag. |
else |
[% else %] |
Default content for any contact who failed all previous if / elif tags. |
The optional tags allow you to add secondary checks and a default. This means that if you include an elif tag, you can send content to people who failed the opening if check, but will pass the elif check. You can then add as many elif tags as you’d like.
If you include an else tag, you can send default content to members failed the if check and the elif checks. Just be aware that the else tag doesn’t test a field against a value, it just provides a fallback. It’s like adding a placeholder in a personalization tag. Additionally, the else values will display on your webview, so if you plan on posting to social media, make sure you’re using one of these.
For example, let’s say that you have a campaign with six contact blocks: Block A, Block B, Block C, Block D, Block E, and Block F. You decide that you want only people who live in Boston to see Block B, only people who live in Carlisle to see block C, only people who live in Dalton to see Block D, and anyone else to see Block E. To set this up, you would do the following:
- In your campaign draft, drag an HTML block between Block A and Block B.
- In the HTML block, type
[% if member:city == "Boston" %]. - Drag an HTML block between Block B and Block C.
- In this HTML block, type
[% elif member:city == "Carlisle" %]. - Drag an HTML block between Block C and Block D.
- In this HTML block, type
[% elif member:city == "Dalton" %]. - Drag an HTML block between Block D and Block E.
- In this HTML block, type
[% else %]. - Drag an HTML block between Block E and Block F.
- In this HTML block, type
[% endif %].
A contact who receives that email will see:
- Block A, Block B, and Block F, if their City field is “Boston”.
- Block A, Block C, and Block F, if their City field is “Carlisle”.
- Block A, Block D, and Block F, if their City field is “Dalton”.
- Block A, Block E, and Block F, if their City field is anything else.
Tag Operators
Below are descriptions of the operators that you’ll use for dynamic content.
| Operator | Description | Example |
|---|---|---|
if |
Indicates the beginning of a conditional statement or series of conditional statements. Each statement must have its own if and endif tags at the start and end of the statement, respectively. |
[% if member:city == "Nashville" %] |
elif |
Short for “else if”. In a series of conditional statements, all statements after the if statement begin with elif. When an if statement is not true, the subsequent elif statements are evaluated next. You can have as many elif tags as you want, as long as they follow the if tag and precede the else tag. |
[% if member:city == "Nashville" %] – You live in Nashville.[% elif member:city == "Portland" %] – You live in Portland. |
else |
Defines a default state for conditional statements. If none of the if / elif statements are true, this content will display in its place. This content will display in the webview and PDF version of a campaign. There can only be one else tag in each statement. |
[% if member:city == "Nashville" %] – You live in Nashville.[% elif member:city == "Portland" %] – You live in Portland.[% else %] – You live somewhere else. |
endif |
Indicates the end of all conditional statements. Required to close dynamic content. | [% endif %] |
!= |
Symbol for “is not equal to”. | [% if member:city != "Nashville" %] – You do not live in Nashville. |
> |
Symbol for “is greater than”. Only works with numeric fields and does not work with the default Postal Code field. | [% if member:age > "30" %] – You are older than 30. |
< |
Symbol for “is less than”. Only works with numeric fields and does not work with the default Postal Code field. | [% if member:age < "30" %] – You are younger than 30. |
and |
Allows you to add multiple criteria to a conditional statement. Using and narrows a statement. |
[% if member:city == "Nashville" and member:age > "30" %] – You live in Nashville and older than 30. |
or |
Allows you to add multiple criteria to a conditional statement. Using or broadens a statement. |
[% if member:city == "Nashville" or member:city =="Knoxville" %] – You live in Nashville or Knoxville. |
and + or |
Allows you to add multiple criteria to a conditional statement. Using both and and or can be tricky because you have to pay attention to the order in which they’re evaluated. You may need to put a statement or two in parentheses. |
[% if member:age > "30" %] and (member:city == "Nashville" or member:city =="Knoxville") %] – You are older than 30 and live in Nashville or Knoxville. |
Setting Up Dynamic Content
- Navigate to your Campaigns tab.
- Click on the name of the campaign that you’d like to edit or click on the Create new campaign button to start from scratch.
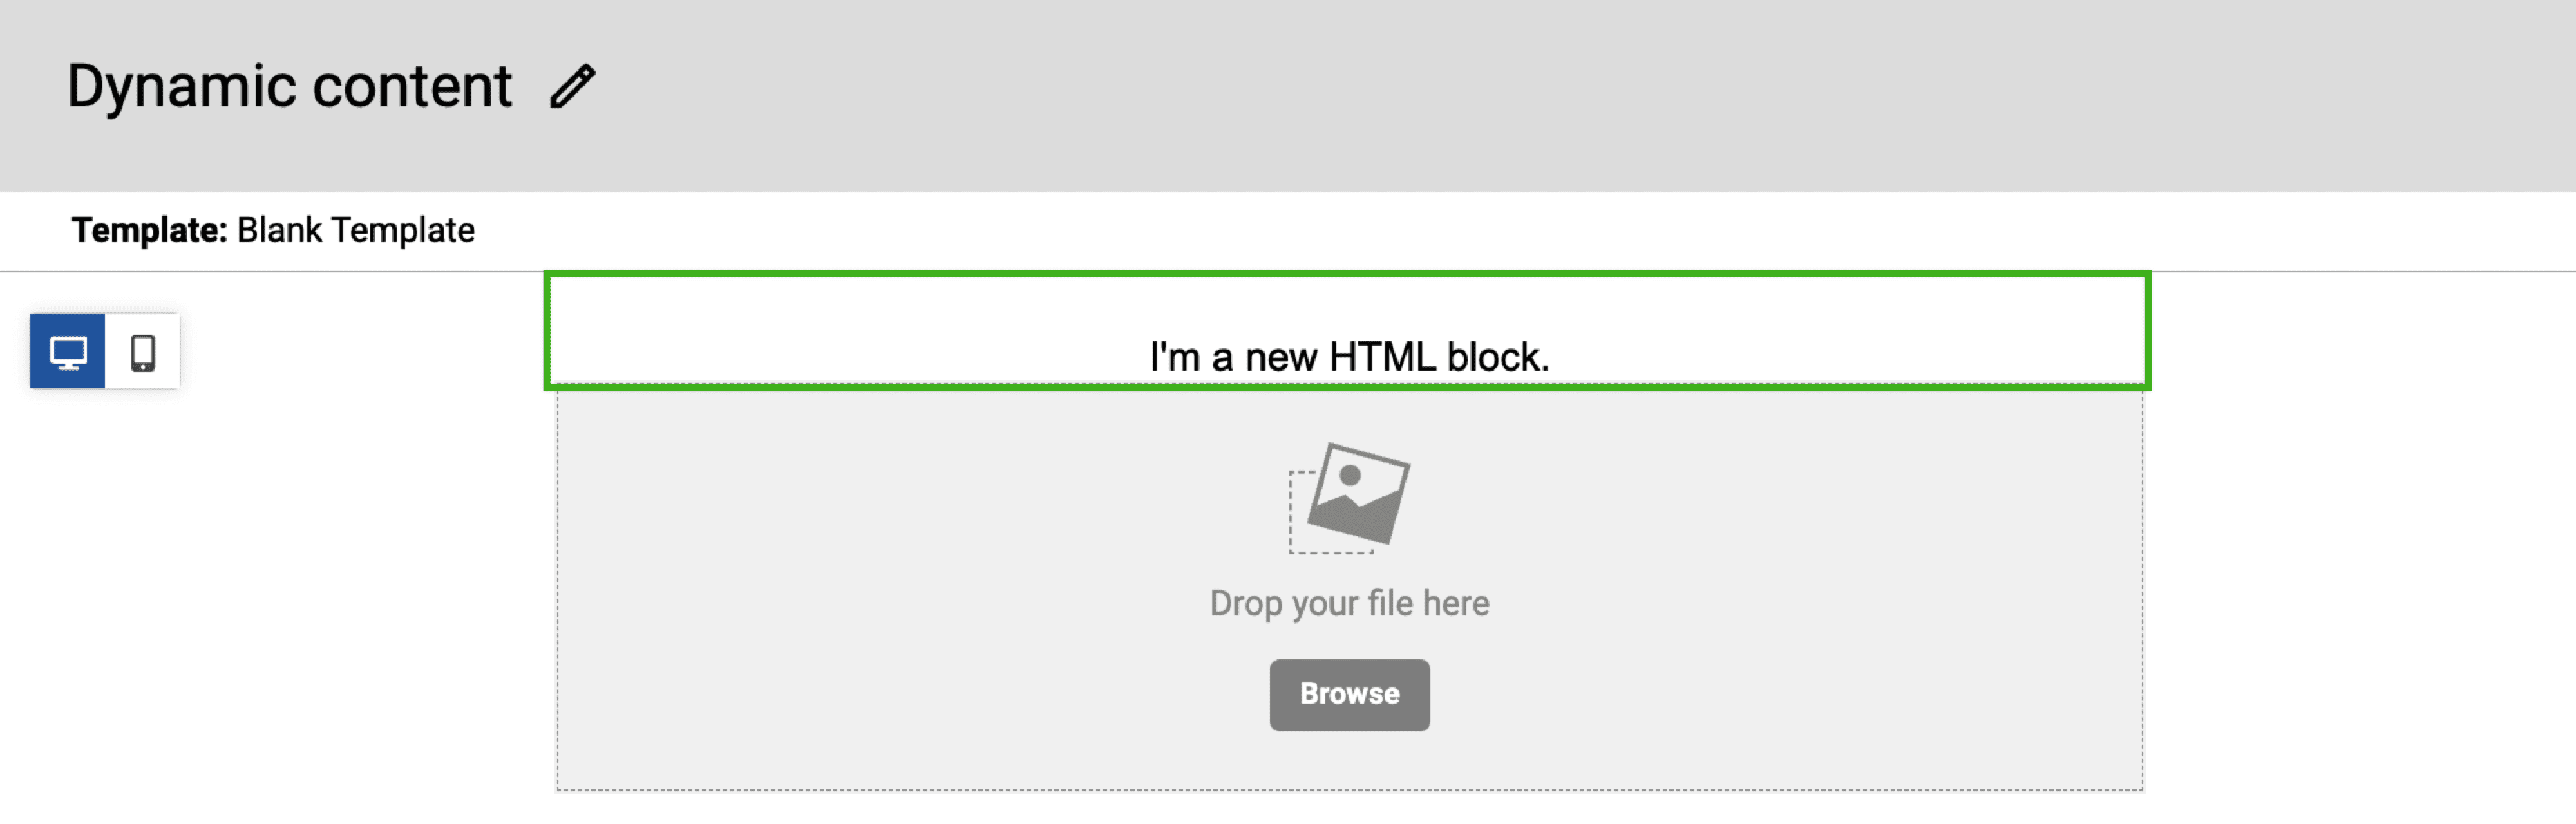
- Drag an HTML block into your draft and drop it where you want the dynamic content portion to begin.
![]()
- In the HTML block, insert your
iftag.
[% if member:field_shortcut_name == "value" %]
Replace “field_shortcut_name” with the shortcut name of the desired contact field. Replace “value” with the criteria you want to use for that if statement.

- Drag the desired content blocks into your draft to create the different content variations that contacts will see depending on their fields.

- Between each variation, drag in an HTML block, and enter the correct tag. The final HTML block must be the
endiftag. For example:- Content block A
[% if member:city == "Boston" %]Content block B[% elif member:city =="Carlisle" %]Content block C[% elif member:city =="Dalton" %]Content block D[% else %]Content block E[% endif %]Content block F

Always be sure to test your dynamic content by setting up specific test contacts that fit the criteria of each set of recipients. Then send a test campaign to be certain that each email is personalized to fit each of your contacts. A contact who receives the email example described above should see the following blocks, but it’s important to test, just to be safe.
- Block A, Block B, and Block F, if their City field is “Boston”.
- Block A, Block C, and Block F, if their City field is “Carlisle”.
- Block A, Block D, and Block F, if their City field is “Dalton”.
- Block A, Block E, and Block F, if their City field is anything else.
Tips for Using Dynamic Content
Tiered Accounts
If you have a tiered account and are adding dynamic content tags to shared templates for your subaccounts, the tags will not work if a subaccount doesn’t also have the specified contact field created in their account. They will need to create those fields before they can use that template to build campaigns.
Spelling and Case Sensitivity
Check your contact fields to make sure they’re spelled right and using the correct case. For example, [% if member:favorite-color == "Green" %] will only work for people with “Green”, capital G, in the Favorite Color field. Similarly, [% if member:favorite-color == "green" %] will only work for people with “green”, lowercase g, in the Favorite Color field.
Logic
Use “and” / “or” logic to include multiple criteria in a tag. Use “greater than” / “less than” / “does not equal” logic to further personalize your mailing.
Nesting Statements
It’s possible to nest if statements, as long as each statement or series of conditional statements has its own endif tag.
Contact Fields
Dynamic content needs to be clearly defined with one answer in order to work. Because of this, checkbox menu and multiple choice fields do not work with dynamic content, as they allow the field to contain multiple answers.
Legacy Editor
In the legacy* editor, there are three sections where content blocks can be placed: top row / header, columns, and bottom row / footer. Dynamic content only works if it is contained within one of those sections in your mailing. If you start your dynamic content in the top row, it will break if it continues into columns section or the bottom row.
Common Dynamic Content Use Cases
Specify a Segment That Has Multiple Criteria
To show a section of content to people named Kevin in Tennessee:
[% if member:first_name == "Kevin" and member:state == "TN" %]
Remember that when you add a variation, use elif instead of if, as if is just for the opening tag.
Include Both “And” Logic AND “Or” Logic
To show a section of content to people named Martha in Tennessee or Michigan:
[% if member:first_name=="Martha" and (member:state=="TN" or member:state=="MI") %]
Remember that when you add a variation, use elif instead of if, as if is just for the opening tag.
Exclude a Particular Audience
To make sure everyone, except those who live in New York, sees a section of content:
[% if member:city != "New York" %]
Please note: The ! that replaces the first = means “does not equal”.
Remember that when you add a variation, use elif instead of if, as if is just for the opening tag.
Specify a “Greater Than” or “Less Than” Criteria
To show a section of content to contacts that are over 21 years of age:
[% if member:age > "21" %]
Remember that when you add a variation, use elif instead of if, as if is just for the opening tag.
Display Dynamic Content Based on Whether or Not a Field Is Empty
To show content only to folks for whom the field is empty, use this syntax: [% if member:state == "" %].
To show content only to folks for whom the field is not empty, use this syntax: [% if member:state != "" %].
* In April 2022, our legacy editor was replaced with a new drag and drop editor. Accounts that existed prior to this change still have access to the legacy editor through their previously saved templates and campaigns, however new, from-scratch campaigns can only be created in the new drag and drop editor. Accounts that were created after this change only have access to the new drag and drop editor. Please refer to our new editor FAQ article for more information.